Anvil Foundry Manual: An Overview
This manual details anvil creation, encompassing historical methods, material science, foundry processes, heat treatment, quality control, and safety protocols. Daily quizzes and rewards are available!
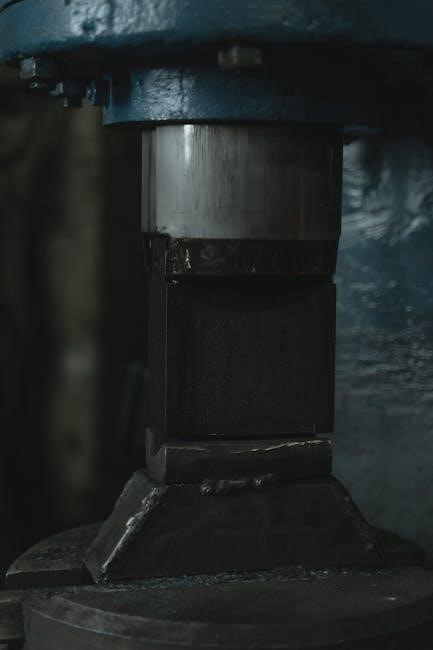
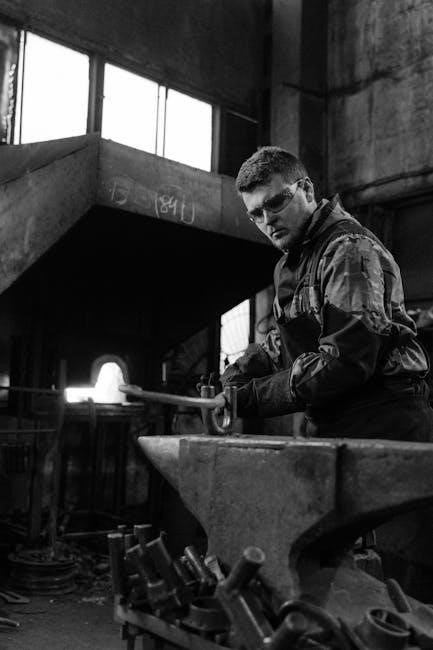
Anvil casting represents a cornerstone of traditional metalworking, demanding precision and a deep understanding of metallurgical principles. The process begins with meticulously crafted patterns, often made of wood or metal, mirroring the anvil’s final form. These patterns are then used to create molds, typically utilizing sand casting techniques where sand is packed around the pattern.
Molten metal, carefully refined to the correct composition, is poured into these molds, solidifying to create the anvil’s rough shape; This initial casting requires skilled foundry workers, ensuring proper metal flow and minimizing defects. Subsequent steps involve removing the casting from the mold, cleaning, and preparing it for further refinement through forging, heat treatment, and finishing processes.
Historical Context of Anvil Production
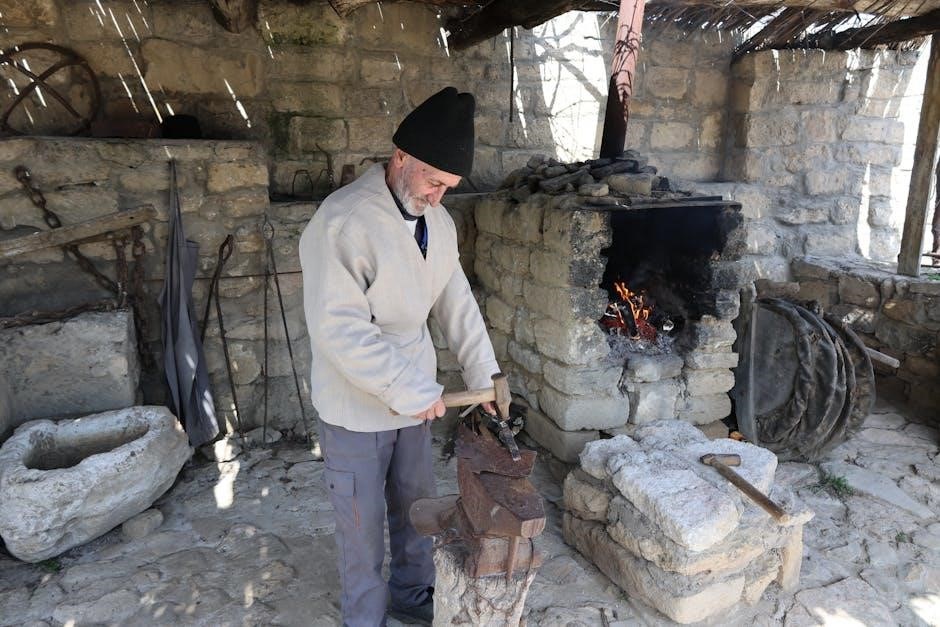
Anvil production boasts a rich history, tracing back millennia to early civilizations utilizing stone and copper forms. The Iron Age marked a pivotal shift, with wrought iron becoming the dominant material, refined through bloomery processes. Medieval blacksmiths relied heavily on hand-forged anvils, each a unique creation reflecting the smith’s skill.
The Industrial Revolution brought advancements in foundry techniques, enabling mass production of cast iron and later, steel anvils. This increased accessibility and affordability, fueling widespread blacksmithing and industrial growth. Throughout history, anvil design has evolved, adapting to changing needs and technological capabilities, yet retaining its fundamental form as a vital tool.
Materials Used in Anvil Construction
Anvils traditionally utilize iron and steel alloys, selected for their durability and ability to withstand repeated impact. Carbon content is crucial for hardness and resilience.
Iron Composition and Grades
Historically, wrought iron was favored due to its fibrous structure, offering excellent shock absorption – vital for anvil performance. However, modern anvils increasingly employ various iron grades; Low-carbon steel, containing less than 0.25% carbon, provides good ductility but requires surface hardening. Medium-carbon steel (0.25-0.60%) offers a balance of strength and toughness.
The presence of silicon, manganese, and phosphorus influences iron’s properties. Silicon enhances strength, manganese improves hardenability, and phosphorus can increase brittleness if not carefully controlled. Careful selection of iron grade, based on intended anvil size and use, is paramount for longevity and functionality. Proper composition ensures the anvil can withstand the rigors of blacksmithing.
Steel Alloys for Enhanced Durability
To overcome wrought iron’s limitations, modern anvil production frequently incorporates steel alloys. Adding chromium creates a corrosion-resistant surface, while vanadium refines grain structure, boosting toughness. Nickel enhances ductility and impact resistance, crucial for absorbing hammer blows. Molybdenum increases hardenability and high-temperature strength.
Alloying with manganese improves wear resistance, extending the anvil’s lifespan. Specific alloy combinations, like those containing silicon and carbon, are tailored to achieve optimal hardness and resilience. These alloys allow for a more durable face and body, reducing chipping and deformation under heavy use. Careful alloy selection is key to a high-quality anvil.
The Role of Carbon Content
Carbon is pivotal in anvil steel, directly influencing hardness and strength. Higher carbon content generally increases hardness, but also brittleness. An optimal range, typically between 0.7% and 1.0%, balances these properties for anvil construction. Lower carbon content results in softer, more ductile metal, unsuitable for the striking face.
Precise carbon control is vital during the steelmaking process. Too much carbon leads to cracking during forging or heat treatment. Insufficient carbon compromises the anvil’s ability to withstand repeated impacts. Careful monitoring and adjustment of carbon levels ensure the anvil possesses the necessary durability and resilience for blacksmithing tasks.
Foundry Processes for Anvil Creation
Anvil production utilizes pattern making, mold preparation via sand casting, meticulous metal melting, and precise pouring techniques to form the robust anvil body.
Pattern Making and Core Design
Creating accurate patterns is fundamental; typically wood or metal, they represent the final anvil shape, accounting for shrinkage during cooling. Detailed patterns capture the horn, face, hardy hole, and pritchel hole geometries. Core design is equally crucial, forming the internal cavities within the casting. Sand cores, created using core boxes, define these spaces.
Core placement must be precise to ensure correct hole positioning and internal structure. Core materials, often sand mixed with binders, require careful selection for strength and collapsibility after casting. Pattern and core quality directly impact the anvil’s dimensional accuracy and structural integrity, demanding skilled craftsmanship and meticulous attention to detail.
Mold Preparation: Sand Casting Techniques
Sand casting remains the prevalent method for anvil production due to its cost-effectiveness and ability to handle large, complex shapes. Mold preparation begins with a flask – a frame holding the molding sand. The pattern is carefully positioned within the flask, and sand, mixed with clay and water, is packed tightly around it.
Ramming the sand ensures adequate density and prevents defects. Sprue, risers, and gates are cut into the sand to facilitate metal flow. The pattern is removed, leaving a cavity representing the anvil. Core placement follows, creating internal features. Proper venting is crucial to allow gases to escape during pouring, preventing porosity;
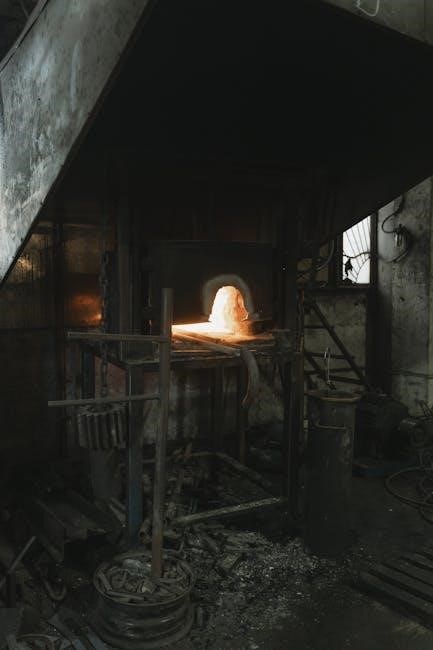
Metal Melting and Pouring Procedures
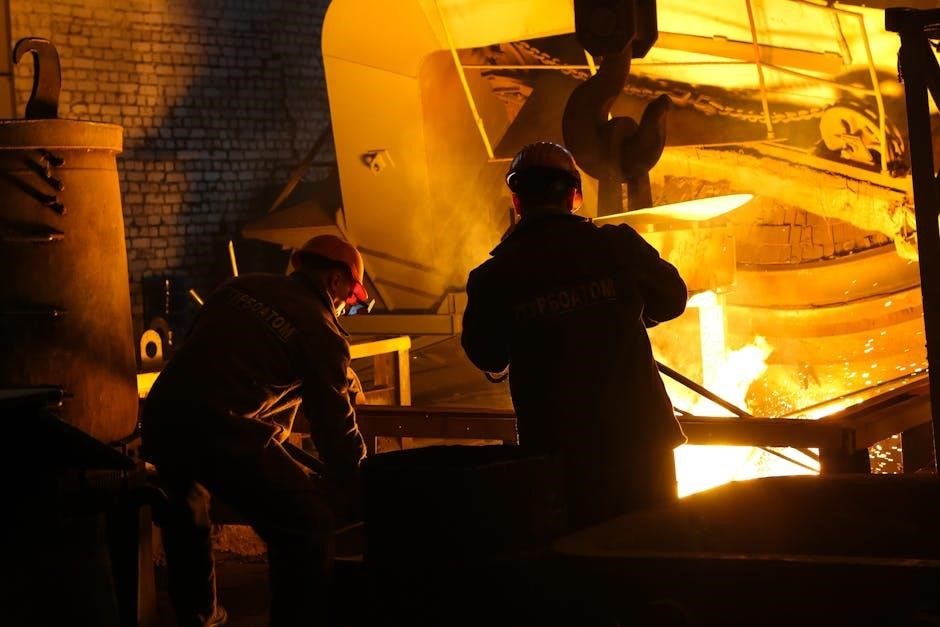
Achieving the correct metal temperature is paramount for successful anvil casting. Typically, iron or steel alloys are melted in cupola furnaces or induction furnaces. Fluxes are added to remove impurities and ensure a clean melt. Temperature monitoring using pyrometers is essential, maintaining optimal fluidity without oxidation.
Pouring must be continuous and controlled to avoid turbulence and entrapment of gases. Skimming slag from the surface before pouring further refines the metal. Pouring speed impacts solidification and final microstructure. Risers feed molten metal to compensate for shrinkage during cooling, preventing voids and ensuring a solid casting.
Anvil Components and Their Manufacturing
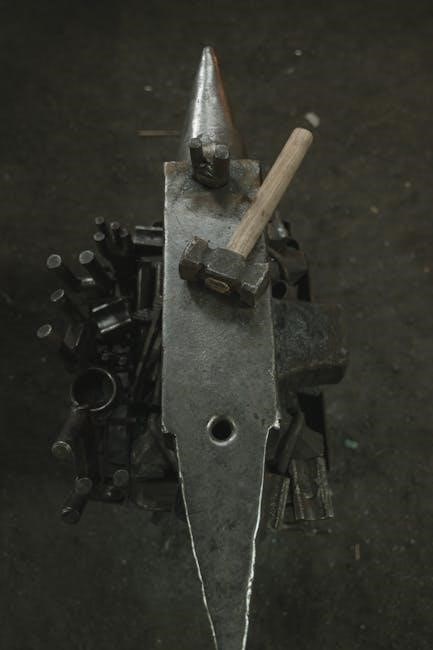
Anvil construction involves precise fabrication of the horn, face, hardy hole, and pritchel hole, each requiring specialized tooling and techniques for optimal functionality.
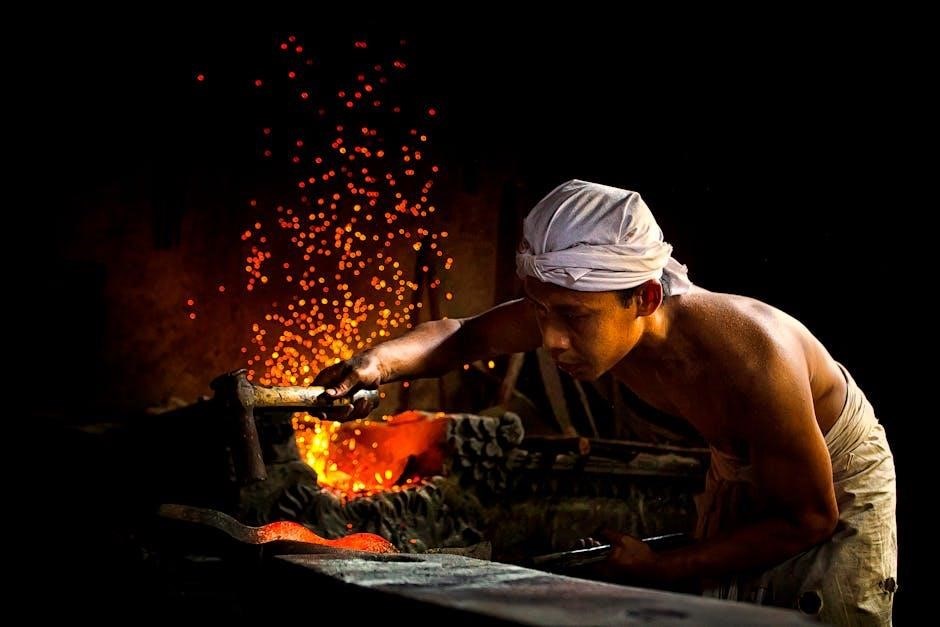
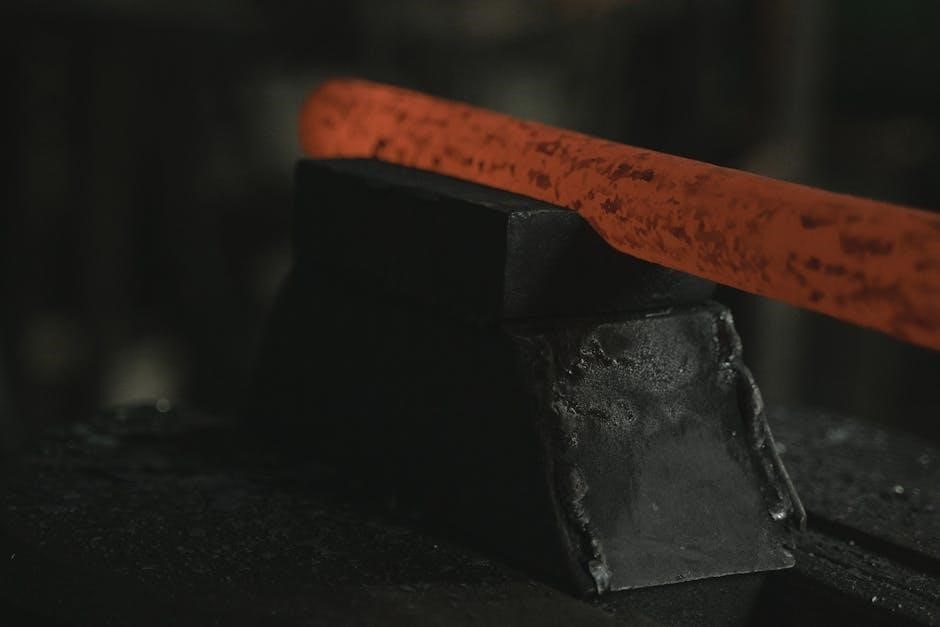
Horn Fabrication and Shaping
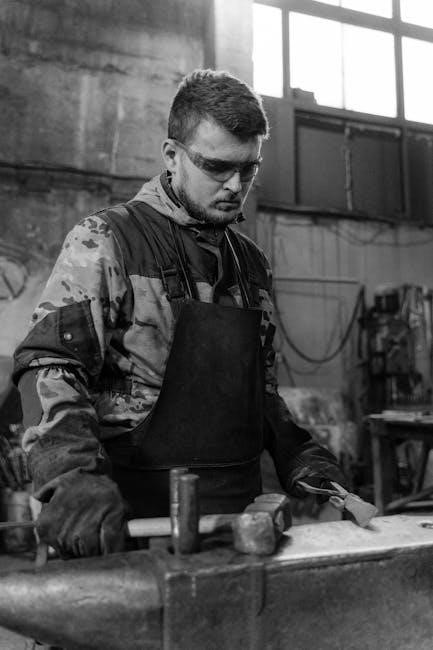
Horn creation begins with a solid steel or iron billet, carefully heated for forging. Skilled smiths utilize specialized hammers and forming tools to gradually shape the horn’s distinctive curve. This process demands precision, as the horn’s geometry directly impacts bending and shaping capabilities. Initial forging establishes the rough form, followed by meticulous refinement through hammering and drawing out the metal.
Surface finishing involves grinding and polishing to achieve a smooth, consistent profile. The horn’s tip is often tapered for versatility. Quality control ensures the correct taper and curvature, vital for various blacksmithing tasks. Proper horn shaping is crucial for creating rings, scrolls, and other curved metalwork, demanding both artistry and technical expertise.
Face Hardening and Polishing
Anvil face hardening is paramount for withstanding repeated hammer blows without deformation. This typically involves heating the face to a specific temperature and rapidly cooling it – often using water or oil quenching. This process transforms the surface microstructure, increasing its hardness. However, this also introduces brittleness, necessitating subsequent tempering.
Polishing follows hardening, removing scale and imperfections to create a smooth, flat working surface. Grinding wheels and abrasive compounds are employed, progressing through finer grits. A highly polished face reduces friction and improves hammer rebound. Regular polishing maintains the anvil’s performance and prevents corrosion, extending its lifespan and ensuring optimal forging results.
Hardy Hole and Pritchel Hole Creation
The hardy hole and pritchel hole are integral features of an anvil, providing versatile mounting points for specialized tools. Their creation demands precision during the foundry process. Typically, cores are incorporated into the mold to define these holes. After casting, machining operations – drilling, reaming, and tapping – refine the holes to accurate dimensions;
Hardy holes accommodate hardy tools, while pritchel holes accept pritchels for punching and drifting. Ensuring proper alignment and consistent sizing is crucial for tool fit and functionality. Quality control checks verify hole diameters and squareness. These holes significantly expand the anvil’s capabilities, enabling a wider range of blacksmithing tasks.
Heat Treatment and Tempering
Heat treatment refines anvil properties, involving normalizing, hardening the face for impact resistance, and tempering to balance hardness with reduced brittleness for longevity.
Normalizing for Grain Structure
Normalizing is a crucial initial heat treatment performed on the anvil casting to refine the grain structure of the iron or steel. This process involves heating the anvil to a predetermined temperature, significantly above its critical point, and then allowing it to cool slowly in still air.
The slow cooling process prevents the formation of undesirable phases and promotes the development of a finer, more uniform grain structure. A refined grain structure dramatically improves the anvil’s toughness and ductility, making it less susceptible to cracking or failure under the stresses of forging. It also prepares the metal for subsequent hardening and tempering operations, ensuring a more consistent and predictable response to these treatments.
Hardening Techniques for the Face
Hardening the anvil face is paramount for its longevity and performance. This typically involves heating the face to its austenitizing temperature – a precise point dependent on the steel alloy – followed by rapid cooling, or quenching. Common quenching mediums include oil or water, though oil is preferred for larger anvils to minimize thermal shock and distortion.
The rapid cooling transforms the austenite into martensite, a very hard but brittle crystalline structure. The depth of hardening is carefully controlled to balance wear resistance with the need to avoid cracking. Precise temperature control and quenching techniques are vital for achieving optimal hardness without compromising the anvil’s structural integrity.
Tempering to Reduce Brittleness
Following hardening, tempering is crucial to reduce the brittleness of the anvil face. This process involves reheating the hardened steel to a lower temperature – below the austenitizing point – and holding it there for a specific duration. The temperature dictates the final hardness and toughness balance.
Tempering allows some of the martensite to transform into other microstructures, like bainite and retained austenite, increasing ductility and impact resistance. Multiple tempering cycles, often with progressively decreasing temperatures, are sometimes employed for optimal results. Careful control of the tempering process prevents cracking during use and extends the anvil’s service life.
Quality Control and Testing
Rigorous testing ensures anvil integrity, employing non-destructive methods, impact assessments, hardness checks, and precise dimensional verification for a superior, reliable product.
Non-Destructive Testing Methods
Non-destructive testing (NDT) is crucial for evaluating anvil quality without causing damage. Magnetic Particle Inspection (MPI) detects surface and near-surface flaws by revealing disruptions in magnetic fields. Liquid Penetrant Inspection (LPI) highlights surface-breaking defects using a dye penetrant. Ultrasonic Testing (UT) employs high-frequency sound waves to identify internal voids, inclusions, and cracks, providing detailed internal imaging. Radiographic Testing (RT), utilizing X-rays or gamma rays, offers another view of internal structures. These methods, combined with visual inspection, guarantee structural integrity and adherence to stringent quality standards, preventing failures during use and ensuring a durable, reliable anvil.
Impact Testing and Hardness Checks
Impact testing assesses an anvil’s resistance to sudden force, crucial for withstanding hammering. Charpy and Izod tests measure the energy absorbed during fracture, indicating toughness. Hardness checks, utilizing Rockwell, Brinell, or Vickers scales, determine the anvil face’s resistance to indentation, directly correlating to wear resistance. These tests verify the effectiveness of heat treatment. Consistent hardness across the face is vital. Results are compared against established standards. These rigorous evaluations ensure the anvil can endure repeated impacts without cracking or deforming, guaranteeing longevity and reliable performance for blacksmithing tasks.
Dimensional Accuracy and Surface Finish
Precise dimensions are paramount for anvil functionality; deviations impact forging accuracy. Detailed measurements of the face, horn, hardy hole, and pritchel hole are taken using calibrated instruments. Surface finish inspection ensures a smooth, consistent working surface, minimizing tool marks and preventing material sticking. Roughness testers quantify surface texture. Any imperfections—porosity, cracks—are meticulously documented. These checks guarantee the anvil meets specified tolerances. Achieving optimal accuracy and finish enhances performance and extends the anvil’s lifespan, providing a reliable platform for blacksmithing operations.
Finishing and Surface Treatments
Post-production involves cleaning, rust prevention, and applying protective coatings like paint. Traditional blacksmithing finishes offer aesthetic appeal and further corrosion resistance for longevity.
Cleaning and Rust Prevention
Following the foundry process, anvils require thorough cleaning to remove residual sand, scale, and other contaminants. Abrasive blasting, utilizing media like steel grit or sand, effectively prepares the surface. Chemical cleaning solutions can dissolve stubborn residues, but require careful handling and disposal.
Rust prevention is crucial for long-term durability. Phosphating creates a protective conversion coating, enhancing paint adhesion and corrosion resistance. Oil applications, using specialized rust preventative oils, form a barrier against moisture. Regular maintenance, including wiping down the anvil with oil, is essential, especially in humid environments. Proper storage also minimizes rust formation.
Painting and Protective Coatings
Applying protective coatings extends an anvil’s lifespan and enhances its appearance. Primers, specifically epoxy or zinc-rich formulations, provide excellent adhesion and corrosion resistance. Multiple coats of high-quality enamel paint offer durable protection against the elements and frequent use.
Powder coating presents a robust alternative, creating a hard, chip-resistant finish. Specialized coatings, like ceramic or PTFE-based options, reduce friction on the anvil’s face. Careful surface preparation – cleaning, degreasing, and potentially abrasive blasting – is vital for optimal coating adhesion. Regular inspection and touch-ups maintain the protective barrier.
Traditional Blacksmithing Finishes
Historically, anvils weren’t painted; instead, blacksmiths employed methods focused on maintaining a functional, durable surface. Regular oiling with rendered animal fats or mineral oils prevented rust and preserved the steel. Wax applications, particularly beeswax, offered a temporary protective layer, enhancing the anvil’s surface smoothness.
Charring, using a controlled flame, created a hardened surface layer, though this practice required skill to avoid damaging the steel. Frequent use itself acted as a finish, polishing the face through repeated hammering. These traditional methods prioritized practicality and relied on readily available materials, reflecting a blacksmith’s resourceful approach.
Safety Considerations in Anvil Foundries
Foundry safety demands rigorous PPE, effective ventilation to manage fumes, and strict protocols for handling molten metal—crucial for preventing accidents and ensuring worker well-being.
Personal Protective Equipment (PPE)
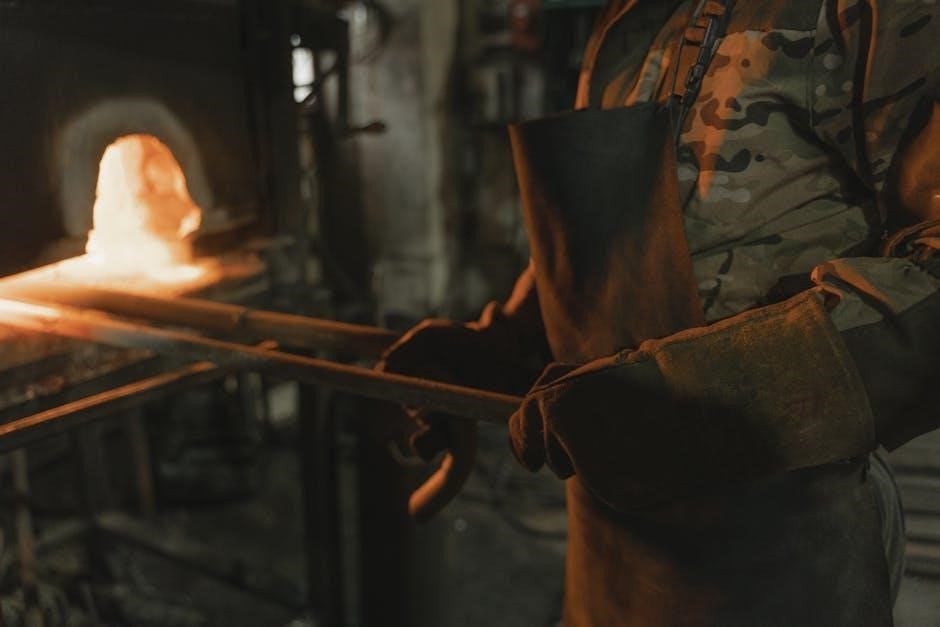
Comprehensive PPE is paramount within an anvil foundry environment. This begins with heat-resistant clothing – fire-retardant jackets and trousers – protecting against radiant heat and potential splashes. Full face shields, coupled with safety glasses, are essential, guarding against flying debris, sparks, and intense light emitted during metalworking.
Heavy-duty, heat-resistant gloves are crucial for handling hot tools and molds, while steel-toed boots protect feet from falling objects. Respirators, specifically those filtering particulate matter and fumes, are vital for maintaining respiratory health. Hearing protection, such as earplugs or earmuffs, mitigates the constant noise levels. Regular inspection and maintenance of all PPE are non-negotiable, ensuring optimal functionality and worker safety.
Ventilation and Fume Control
Effective ventilation is critical in anvil foundries due to the hazardous fumes generated during metal melting and pouring. A localized exhaust ventilation (LEV) system should be implemented directly at the furnace and pouring stations, capturing fumes at their source. General dilution ventilation supplements LEV, ensuring overall air quality.
Regular monitoring of air quality is essential, checking for levels of carbon monoxide, nitrogen oxides, and particulate matter. Maintenance of ventilation systems – filter replacements, duct cleaning – is paramount. Proper airflow patterns should be established to prevent fume accumulation in worker breathing zones. Employee training on ventilation system operation and fume hazards is also vital for a safe working environment.
Handling Molten Metal Safely
Handling molten metal presents significant hazards; strict safety protocols are non-negotiable. Full personal protective equipment (PPE) – including face shields, aprons, gauntlets, and appropriate footwear – is mandatory. Dedicated, clearly marked pathways for transporting molten metal must be established and maintained.
Emergency procedures, including spill containment and first aid for burns, should be prominently displayed and regularly practiced. Never work alone when handling molten metal. Regular inspection of ladles, crucibles, and other equipment is crucial to prevent failures. Proper training on safe pouring techniques and emergency response is essential for all personnel involved.

Be the first to reply